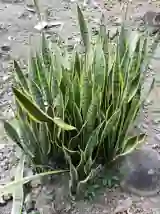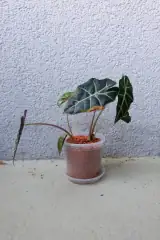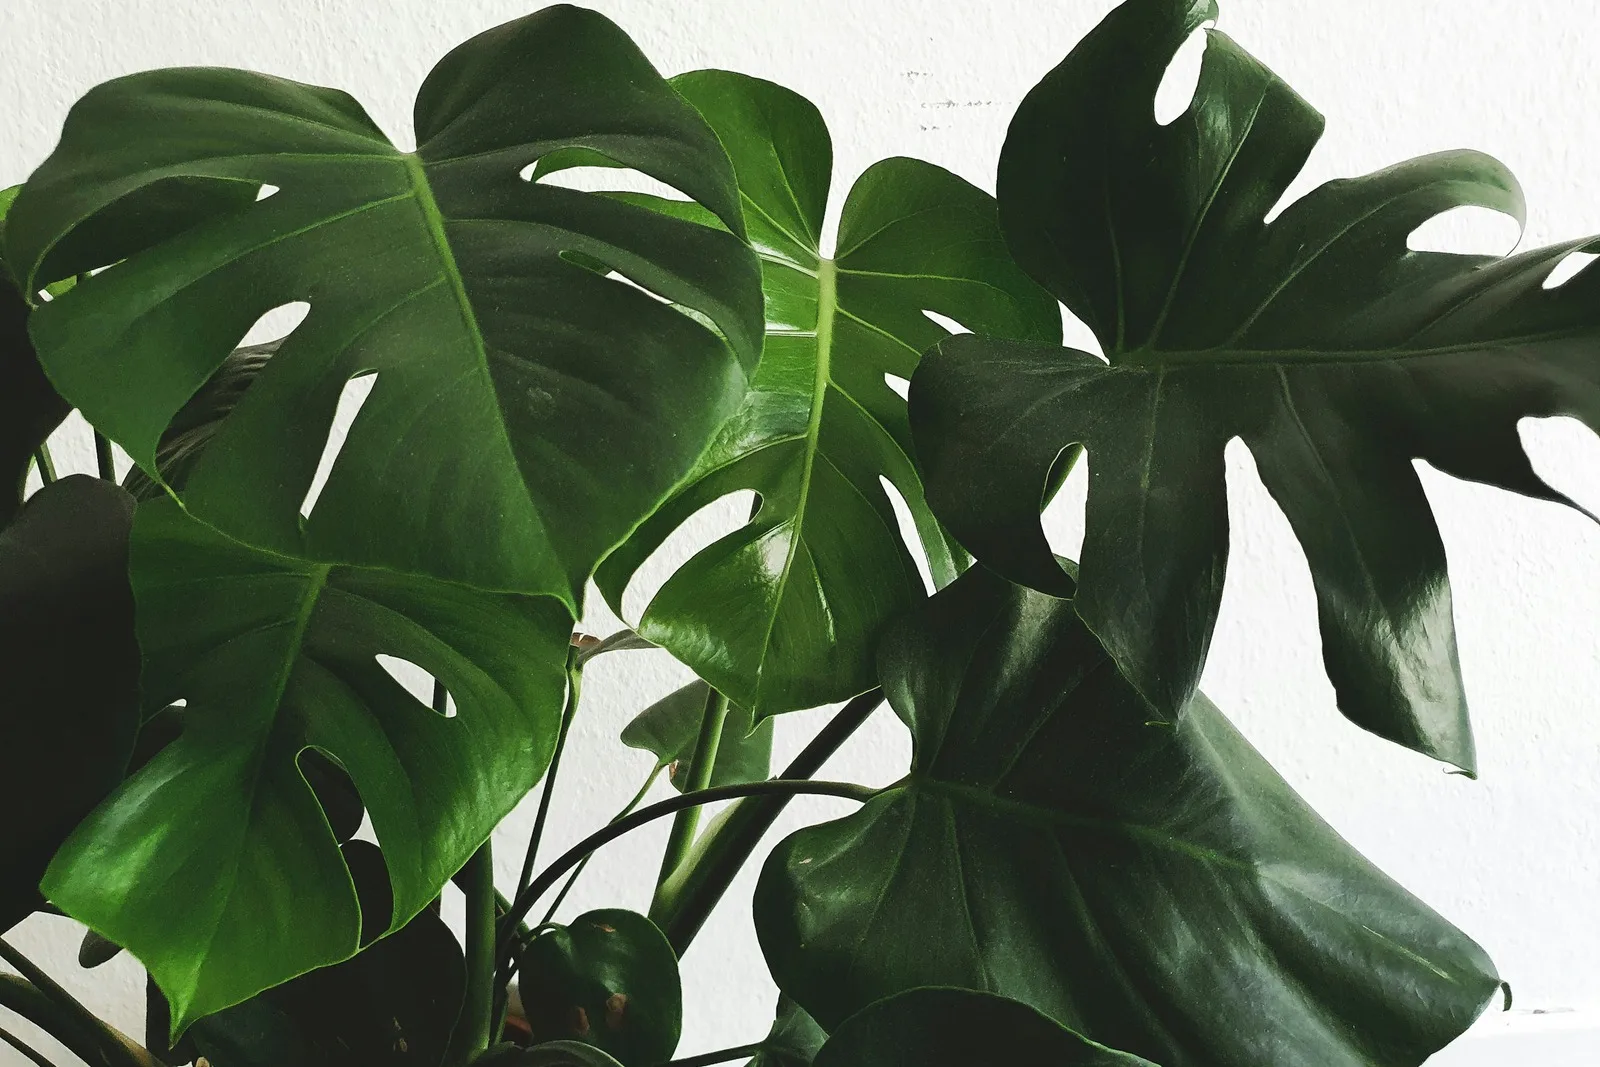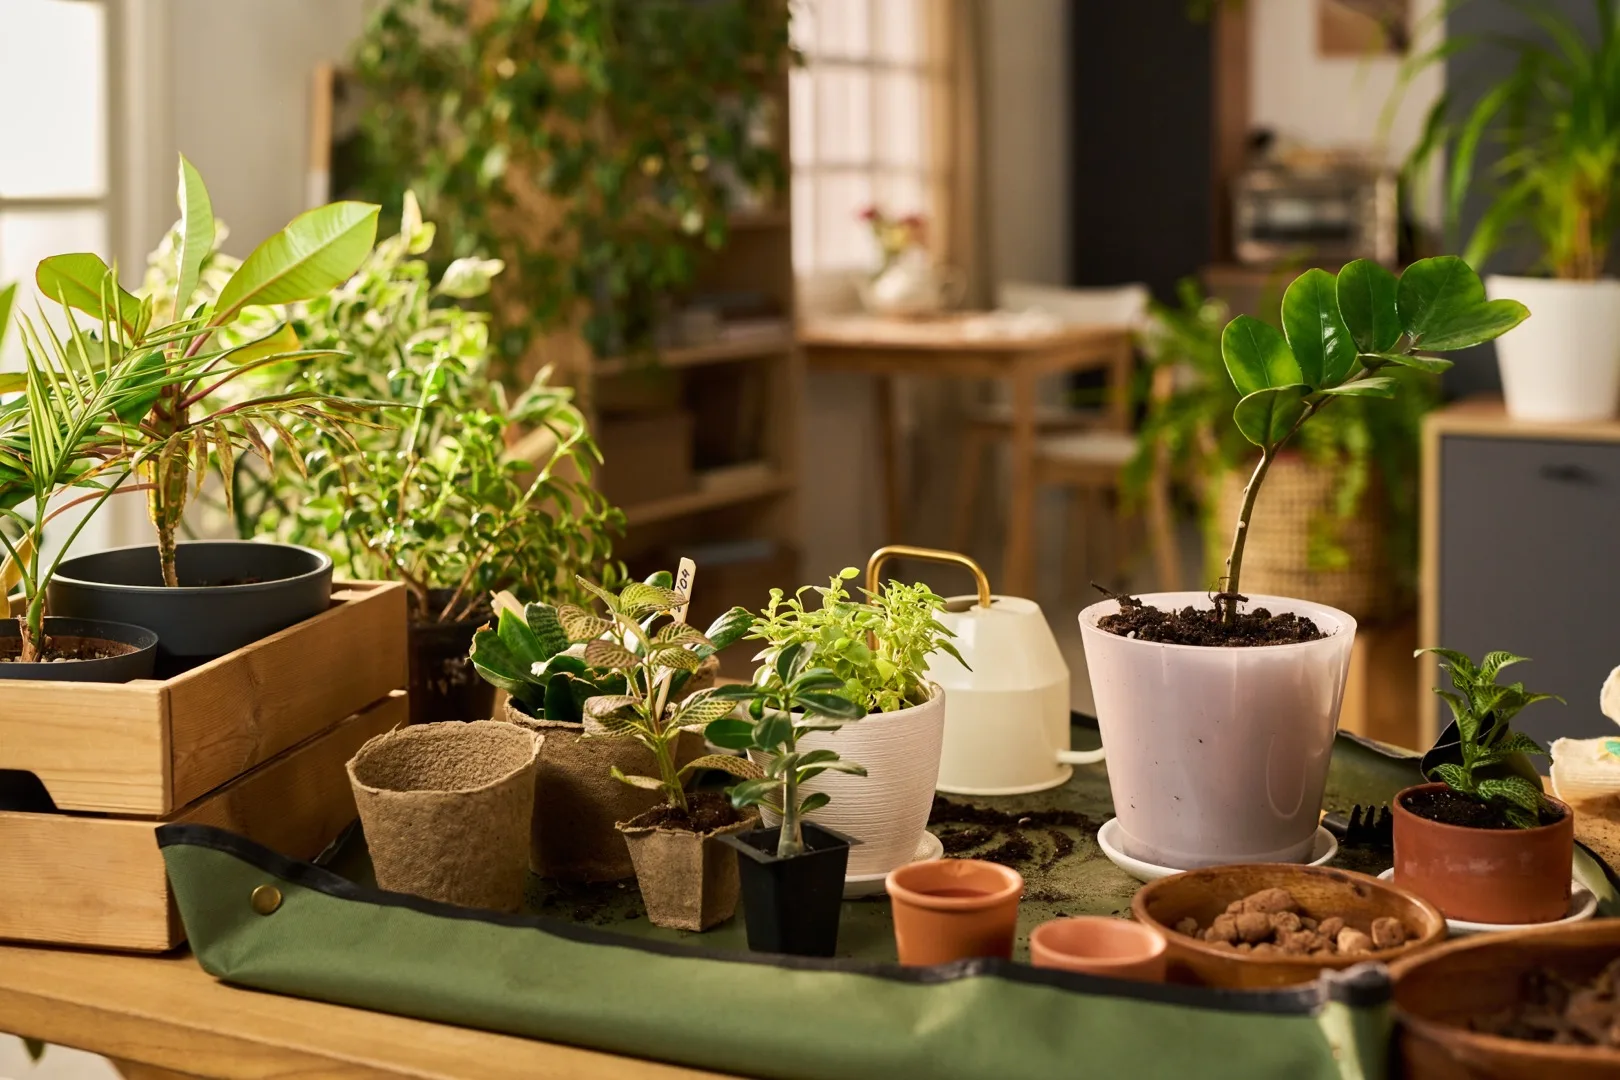
Knowing how to repot a plant is one of the most important skills any plant parent can learn. Repotting gives your plant fresh nutrients, more room to grow, and a chance to inspect the roots for problems. Whether you are dealing with a rootbound Monstera deliciosa or a Snake Plant that has cracked its nursery pot, the process is simpler than most people think.
When Should You Repot?
Not every plant needs repotting every year. Some plants actually prefer being slightly rootbound — Peace Lilies and Hoyas, for example, may bloom better when snug. But when your plant is truly ready, it will show you. Here are five signs explained in detail:
- Roots circling the bottom of the pot or growing out of drainage holes. When you lift the pot and see a dense mat of roots at the bottom or white roots poking through the holes, the plant has run out of room. This is the most reliable sign.
- Water runs straight through without being absorbed. When roots fill most of the pot volume, there is very little soil left to hold moisture. Water channels around the root ball and drains immediately, leaving the plant thirsty.
- The plant is top-heavy and tips over easily. As growth above the soil line outpaces root space below, the center of gravity shifts and your plant topples at the slightest breeze.
- Growth has stalled even during the growing season. If your plant stops producing new leaves in spring or summer despite good light and watering, depleted nutrients or cramped roots may be the cause.
- Soil dries out within a day or two of watering. When roots replace most of the soil volume, there is not enough growing medium to hold moisture. You find yourself watering every other day just to keep up.
Pro Tip
The best time to repot is in spring or early summer when your plant is actively growing. Roots recover faster because the plant is already channeling energy into new growth. Avoid repotting in winter unless the plant is in serious distress — root rot, severely rootbound, or pest-infested soil that must be replaced.
Essential Tools and Supplies
Having everything ready before you start makes the process smoother for both you and the plant:
- A new pot 1-2 inches larger in diameter (with drainage holes — non-negotiable)
- Fresh potting mix appropriate for your plant type (see soil selection guide below)
- A trowel or large spoon for scooping and packing soil
- Watering can with a gentle spout
- Newspaper, a tarp, or a large tray to catch the mess
- Clean, sharp scissors or pruning shears for root trimming
- A chopstick or wooden skewer for working soil into gaps around roots
- Optional: cinnamon powder to dust on cut roots and prevent infection
- Optional: a bucket of water for soaking severely rootbound plants
Choosing Pot Size and Material
Size: Bigger Is Not Better
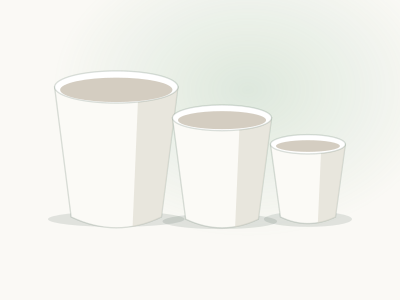
Always go up only 1-2 inches in diameter. A 4-inch plant goes to a 6-inch pot. Jumping from a 4-inch to a 10-inch is one of the most common mistakes — the excess soil holds moisture the roots cannot absorb, creating conditions for root rot and fungus gnats.
Material Comparison
| Pot Type | Pros | Cons | Best For |
|---|---|---|---|
| Terracotta | Breathable, affordable, great drainage | Heavy, dries out faster | Succulents, cacti, snake plants, overwater-prone owners |
| Ceramic (glazed) | Retains moisture, many styles | Heavy, may lack drainage | Ferns, calatheas, peace lilies |
| Plastic | Lightweight, retains moisture, cheap | Less breathable, less attractive | Large plants, hanging plants, inner nursery pots |
| Self-watering | Consistent moisture, great for travelers | Not ideal for drought-loving plants | Peace lilies, ferns, African violets, herbs |
| Fabric grow bags | Excellent drainage, air-prunes roots | Dries fast, not decorative | Vegetables, herbs, outdoor plants |
Pro Tip
Always choose a pot with drainage holes. If you love a decorative pot without drainage, use it as a cachepot — keep the plant in a nursery pot with holes and set it inside the pretty one. Style plus function, and future repotting becomes even easier.
Soil Selection by Plant Type
Using the right soil mix is just as important as choosing the right pot:
| Plant Type | Recommended Soil Mix |
|---|---|
| General houseplants (Pothos, Philodendron) | Standard indoor potting mix with added perlite |
| Succulents and cacti | Cactus/succulent mix or 50/50 potting soil and perlite |
| Tropical aroids (Monstera, Alocasia) | Chunky aroid mix: orchid bark, perlite, and potting soil |
| Ferns and Calatheas | Moisture-retaining mix with peat moss and perlite |
| Orchids | Orchid bark mix — never regular potting soil |
| Snake Plants and ZZ Plants | Well-draining mix with extra perlite or pumice |
| African Violets | Light, fluffy mix with vermiculite and peat |
Step-by-Step Repotting Guide
Follow these steps carefully. Take your time — rushing leads to broken stems and damaged roots.
- Water the plant the day before. Moist (not soaking) soil makes it easier to slide the plant out and reduces root stress. Dry soil grips pot walls. Soaking wet soil falls apart.
- Prepare your workspace. Lay out newspaper or a tarp with all tools within reach. A bathtub or kitchen counter works well for easy cleanup.
- Prepare the new pot. If using terracotta, soak it for 30 minutes first so it does not steal moisture from the soil. Add a layer of fresh potting mix to the bottom so the plant will sit at the same depth as before.
- Remove the plant. Turn the pot sideways, gently grip the base of the stems (never pull by the leaves), and ease the plant out. If stuck: tap the pot sides, squeeze plastic pots gently, run a butter knife around the inside edge, or push up through the drainage hole with a pencil.
- Inspect the roots carefully. This is your chance to check root health. Healthy roots are white or light tan, firm, and plump.
Root Inspection Guide
- Brown, mushy roots: Root rot. Cut away all affected tissue until you reach healthy white roots. Dust cuts with cinnamon to prevent infection.
- Black, slimy roots with a bad smell: Advanced rot. Remove all damaged roots, let the root ball air dry for an hour, and use a same-size or smaller pot since root mass is reduced.
- Dry, brown, crispy roots: Dead from underwatering. Trim them off — they will not recover.
- Tightly circling roots (rootbound): Gently tease apart with your fingers or score the root ball with a clean knife — make 3-4 shallow vertical cuts. This encourages outward growth into new soil.
- Position the plant. Set it in the new pot. The top of the root ball should sit about half an inch below the rim for watering space.
- Fill with soil. Add potting mix around the sides, using a chopstick to work soil into gaps between roots. Press lightly to remove air pockets but do not compact too tightly — roots need air.
- Water thoroughly. Give the plant a slow, deep soak until water drains freely from the bottom. This settles soil around roots. If the soil level drops, add more mix.
- Skip fertilizer for 2-4 weeks. Fresh mix already has nutrients. Recently disturbed roots are sensitive to chemical burn.
Detailed Post-Repotting Aftercare
The first two weeks after repotting are critical:
- Expect some drooping. Transplant shock causes temporary wilting for a few days to a week. Do not panic or overcompensate with extra water.
- Provide indirect light. Keep the plant out of direct sun for at least a week. Stressed roots cannot keep up with the water demand that bright light creates.
- Maintain consistent moisture. Keep soil evenly moist (not soggy) for 1-2 weeks. Roots need to establish contact with new soil.
- Do not move the plant. Pick a spot and leave it for at least two weeks. Every move is another adjustment.
- Hold off on pruning. One stress at a time. Wait 2-3 weeks before removing leaves or trimming vines.
- Watch for yellow leaves. Losing 1-2 lower leaves after repotting is normal — the plant redirects energy to root recovery. Losing many leaves quickly may signal overwatering or root damage.
Pro Tip
If your plant is severely rootbound, soak the entire root ball in room-temperature water for 15-20 minutes before repotting. This rehydrates compressed roots and makes them easier to untangle without breaking.
Common Repotting Mistakes
- Going too big. A pot that is way too large holds excess moisture, leading to root rot, fungus gnats, and mold. Stick to 1-2 inches larger.
- Skipping drainage. No drainage hole is a recipe for soggy roots. Every plant parent learns this the hard way.
- Repotting a stressed plant. If your plant has pests or disease, treat that first. Exception: if the soil itself is the problem (root rot, infested), then repotting is the treatment.
- Using old soil. Fresh potting mix provides nutrients and proper drainage. Reusing depleted or contaminated soil defeats the purpose.
- Burying the stem too deep. Soil level should match where it was in the old pot. Deeper burial can cause stem rot, especially in succulents.
- Repotting at the wrong time. Winter repotting forces a dormant plant to recover when it has the least energy. Wait for spring unless it is an emergency.
- Forgetting to check for pests. Repotting is the perfect time to inspect roots for mealybugs, fungus gnat larvae, and other hidden problems.
- Overwatering after repotting. One thorough watering right after is all you need. Then let soil dry slightly before the next watering.
Special Situations
Very Large Plants
For mature floor plants like Fiddle Leaf Figs or large Monstera, full repotting may not be practical. Try top-dressing instead: remove the top 2-3 inches of old soil and replace with fresh mix. This refreshes nutrients without the upheaval. Do this annually for plants in 12-inch pots and larger.
Newly Purchased Plants
Many people repot immediately after buying. This is unnecessary and adds stress to a plant already adjusting to a new environment. Let it acclimate for 2-4 weeks first, unless the soil is clearly problematic (soaking wet, hydrophobic, or visibly infested).
Emergency Root Rot Repotting
If you discover root rot: remove the plant, cut away all mushy brown roots with sterilized scissors, let the root ball air dry for an hour, and repot into fresh dry soil in a clean pot (same size or smaller). Do not water for 2-3 days to let cut surfaces heal.
Frequently Asked Questions
How often should I repot my plants?
Most houseplants need repotting every 1-2 years. Fast growers like Pothos and Monstera may need it annually. Slow growers like ZZ Plants and Snake Plants can go 2-3 years. Go by signs rather than a rigid schedule.
Can I repot a flowering plant?
Ideally wait until blooming is over. Repotting during flowering can cause bud and flower drop as the plant redirects energy to root recovery.
Should I water before or after repotting?
Both. Water in the old pot the day before (easier removal), then water thoroughly after placing in the new pot (settles soil). Do not water again until the top inch feels dry.
My plant looks worse after repotting — did I mess up?
Probably not. Transplant shock causes temporary drooping, yellowing of lower leaves, and halted growth. Give it 1-2 weeks. If symptoms worsen after two weeks, check for overwatering or root damage.
Do I need to sterilize reused pots?
Yes. Wash with hot soapy water and soak in a 1:9 bleach-to-water solution for 30 minutes. Rinse thoroughly. This prevents transmitting diseases or pests from the previous plant.