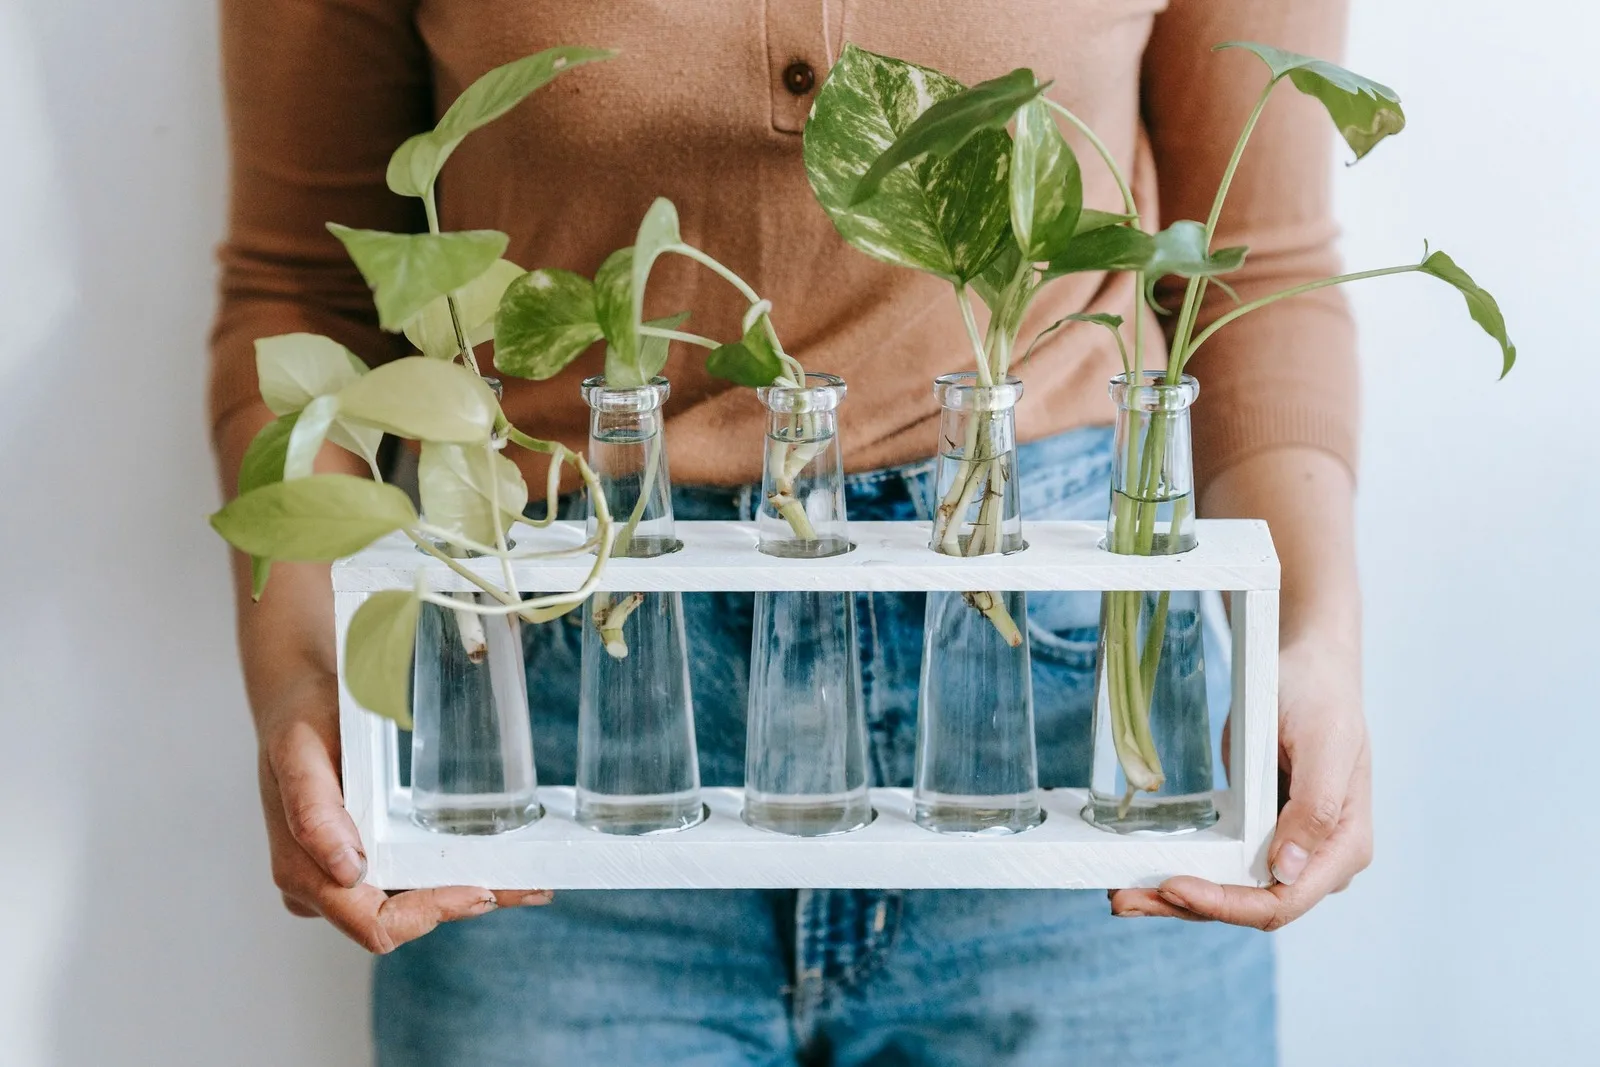
Quick Summary
Cut a Pothos vine just below a node (the small brown bump opposite a leaf), remove lower leaves, and place in a jar of water with the node submerged. Change water every 3-5 days. Roots appear in 7-10 days; transfer to soil when roots reach 2-3 inches (3-4 weeks). Works with all Pothos varieties.
If you want to grow your plant collection for free, learning how to propagate pothos in water is the best place to start. Pothos (Epipremnum aureum) is one of the easiest houseplants to propagate, and watching roots grow through a glass jar is genuinely satisfying. It is the gateway plant for propagation enthusiasts — once you succeed with Pothos, you will want to propagate everything.
Why Pothos Is Perfect for Beginners
Pothos is often called the unkillable plant for good reason. It roots quickly in water, tolerates a wide range of light and temperature conditions, and gives you visible progress within days. If you are new to propagation, this is your training-wheels plant. The success rate is typically very high if you follow the basic steps, and the whole process is forgiving of minor mistakes.
Pothos also comes in many beautiful varieties that all propagate the same way: Golden Pothos (the classic green-and-yellow), Marble Queen (white and green), Neon Pothos (bright chartreuse), Jade Pothos (solid green), Manjula (silver, green, and cream), and N'Joy (compact white and green). Every variety roots easily in water.
What You Need
- A healthy pothos plant with at least a few long vines (6+ inches of vine per cutting)
- Clean, sharp scissors or pruning shears — dull cuts crush the stem and slow rooting
- A glass jar or vase (clear so you can watch the roots develop — this is half the fun)
- Room-temperature water (filtered or left out overnight if your tap is heavily chlorinated — chlorine can inhibit root growth)
- Optional: activated charcoal (a small piece keeps water clean longer)
- Optional: liquid fertilizer (for long-term water growing)
Understanding Nodes: Where the Magic Happens
The node is the single most important part of pothos propagation. Without a node, your cutting will not root — period. Here is how to identify them:
- What a node looks like: A small brown or dark bump on the vine, usually located directly opposite where a leaf attaches. On older vines, you may also see tiny aerial roots (thin brown tentacles) already growing from the node.
- Where to find them: Every leaf on a pothos vine has a corresponding node. Look at the vine where each leaf stem (petiole) meets the main vine — the node is on the opposite side.
- Aerial roots: If a node already has small aerial roots growing from it, that is a bonus. These aerial roots will develop into water roots much faster than a bare node.
- What is NOT a node: The leaf stem (petiole) itself is not a node. A cutting with only a leaf and petiole but no piece of the main vine will not root.
Pro Tip
Run your finger along the vine and feel for small bumps — those are nodes. Cuttings with 2 nodes root faster and produce more vigorous new growth than single-node cuttings. When possible, include 2 nodes per cutting.
Step-by-Step: Propagating Pothos in Water
- Identify the nodes. Look along the vine for small brown bumps opposite the leaves. These are nodes, where roots will grow. Each cutting needs at least one node. Two is better.
- Make your cuts. Cut about half an inch below a node using clean, sharp scissors. Each cutting should have 1-3 leaves and at least one node. Make a clean, decisive cut — do not saw back and forth. A clean cut heals faster and roots sooner.
- Remove lower leaves. Strip any leaves that would be submerged in the water. Submerged leaves rot quickly, foul the water, and create bacteria that can harm the developing roots. Keep only 1-2 leaves above the waterline per cutting.
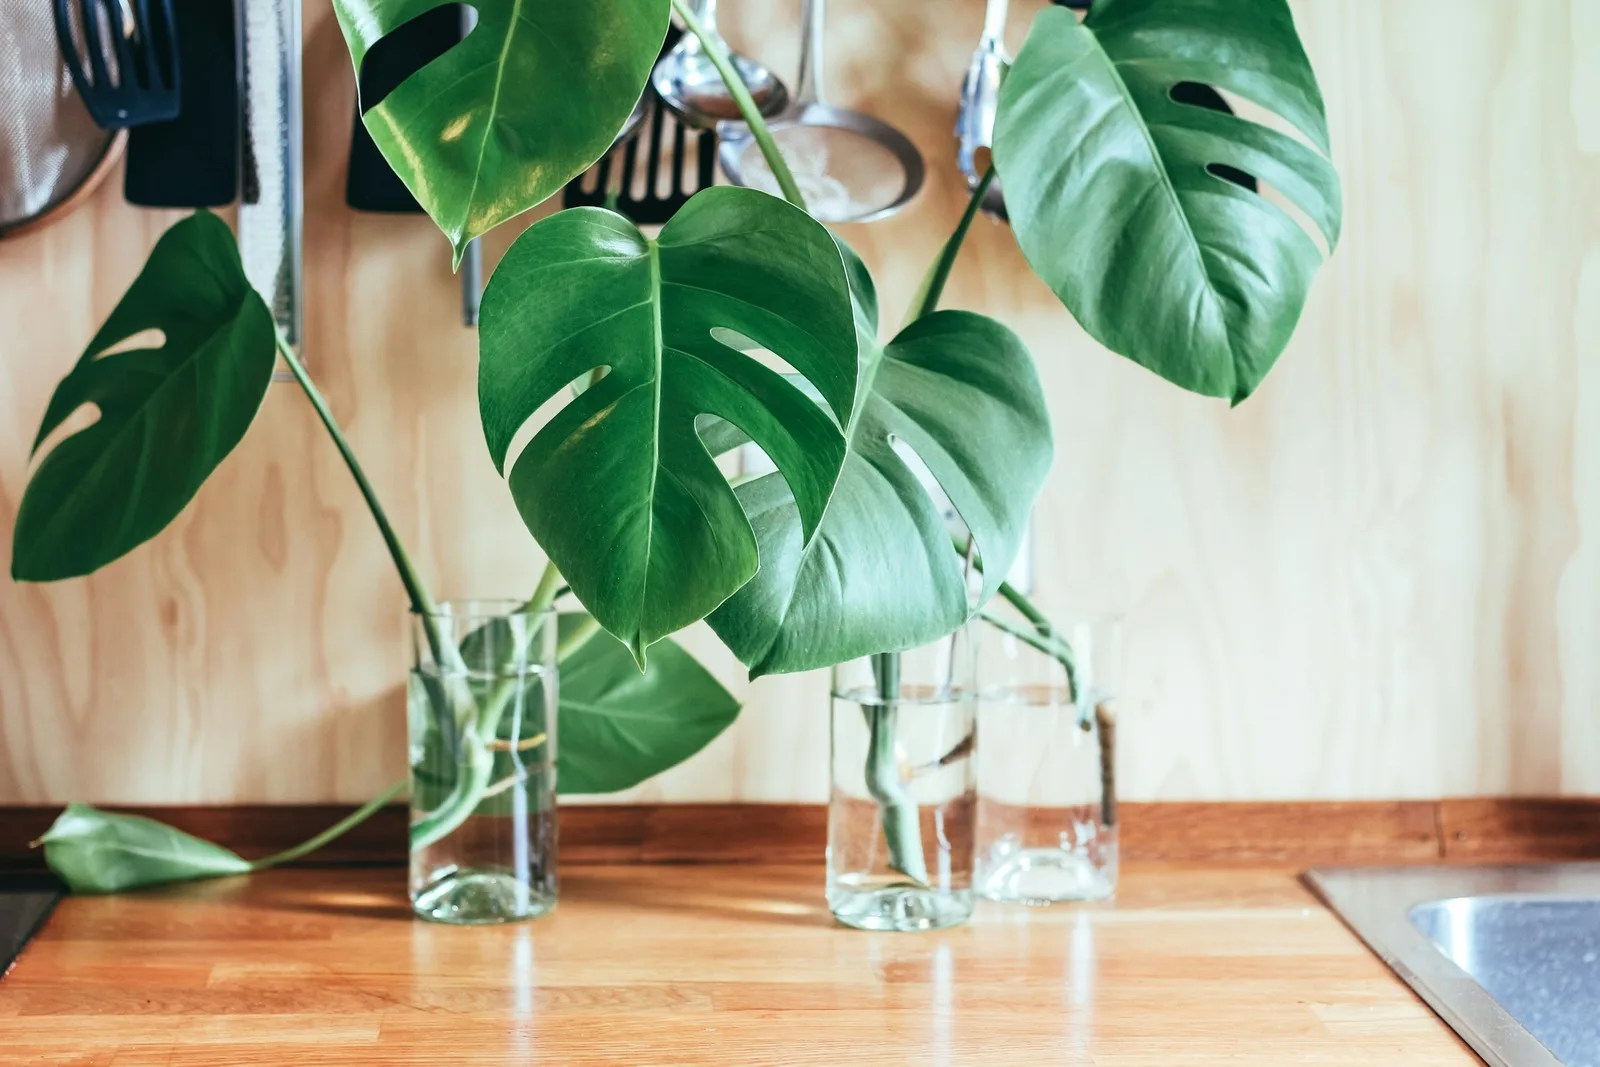
- Place in water. Put the cuttings in your jar so the nodes are submerged but the leaves stay well above the waterline. The water should cover the node(s) by at least half an inch. You can place multiple cuttings in one jar.
- Find the right spot. Set the jar in bright, indirect light. A spot near an east-facing window is ideal. Avoid direct sun, which can overheat the water and promote algae growth. Warm, bright conditions produce the fastest rooting.
- Change the water. Swap the water every 3-5 days to keep it fresh and oxygenated. Stagnant water breeds bacteria and deprives developing roots of oxygen. Use room-temperature water each time.
- Wait for roots. You should see tiny white root nubs within 7-10 days. Let them grow to 2-3 inches before transplanting (usually 3-4 weeks total).
Does Water Type Matter?
More than you might think. Here is how different water types affect propagation:
| Water Type | Suitability | Notes |
|---|---|---|
| Filtered water | Excellent | Removes chlorine and chemicals. Best option. |
| Tap water (left out 24 hrs) | Good | Chlorine evaporates overnight. Free and easy. |
| Tap water (fresh) | Acceptable | Works in most areas. May slow rooting slightly in heavily treated water. |
| Distilled water | Good | Pure but lacks minerals. Fine for short-term propagation. |
| Rainwater | Excellent | Naturally soft and chemical-free. Plants love it. |
| Softened water | Avoid | High sodium content can damage roots. |
In most cases, regular tap water works just fine. If your tap water is heavily chlorinated (you can smell it), let it sit overnight or use a simple carbon filter pitcher.
When to Change the Water
This step is often overlooked, and it makes a significant difference:
- Every 3-5 days is the ideal cadence during active rooting
- Change immediately if the water looks cloudy, slimy, or has an odor
- Top off the water if the level drops between changes (evaporation happens)
- Use room-temperature water — cold water shocks the developing roots and slows growth
- When you change the water, gently rinse any slime off the submerged stems
Pro Tip
Add a small piece of activated charcoal to the water. It keeps the water clean and prevents bacterial growth without harming the cutting. Aquarium charcoal works perfectly and one piece lasts weeks. This is especially helpful if you tend to forget water changes.
Root Development Timeline
Here is what to expect week by week so you know your propagation is on track:
| Timeframe | What You Will See |
|---|---|
| Day 1-3 | Nothing visible. The cut is sealing and the node is preparing. The cutting may look slightly wilted — this is normal. |
| Day 4-7 | Small white bumps appear on the node. These are root primordia — the beginning of roots. The cutting perks up. |
| Day 7-14 | White root nubs extend into visible roots, 0.5-1 inch long. They look like thin white threads. Exciting phase. |
| Week 2-3 | Roots grow to 1-2 inches. You may see branching (secondary roots forming off the main roots). The cutting looks healthy and stable. |
| Week 3-4 | Roots reach 2-3 inches with good branching. This is the ideal transfer window for soil. The root system is established enough to sustain the plant in soil. |
| Week 4+ | Roots continue growing and may become quite long. Water roots become thicker. You may see new leaf growth starting at the growing tip. Still fine to transfer or keep in water. |
Transferring to Soil: Step-by-Step
Once roots are 2-3 inches long, your cutting is ready for soil. The transfer process matters — water roots are different from soil roots, and a careful transition prevents transplant shock:
- Choose the right pot. A 4-inch pot with drainage holes is ideal for 1-3 cuttings. Terracotta pots are great because they breathe and help prevent overwatering. If planting multiple cuttings in one pot for a fuller look, use a 6-inch pot.
- Prepare the soil. Fill with well-draining potting mix. A standard indoor potting mix with added perlite (about 20-30% perlite by volume) provides good drainage while retaining enough moisture for the transitioning roots.
- Make a hole in the center deep enough to accommodate the roots without bending or cramming them. If roots are very long, you can gently coil them, but straight is better.
- Gently place the rooted cutting in the hole. Fan the roots out slightly if possible.
- Fill around the roots and press lightly. The stem should be supported upright. Do not pack the soil tightly — roots need air spaces.
- Water thoroughly until water runs from the drainage holes. This settles the soil around the roots and eliminates air pockets.
- Keep the soil consistently moist for the first 2 weeks. This is the critical transition period. Water roots need time to adapt to soil, and letting the soil dry out too quickly during this phase can stress the cutting. After 2 weeks, transition to your normal pothos watering schedule (water when the top inch of soil is dry).
Pro Tip
Want a fuller pothos? Take 4-5 cuttings and plant them all in the same pot once rooted. You will get a bushy, lush plant instead of a single sparse vine. Professional growers do this routinely — that full, gorgeous pothos at the nursery is usually 6-8 rooted cuttings in one pot.
Can You Keep Pothos in Water Forever?
Yes, pothos can live in water indefinitely. Many people keep cuttings in decorative vases as permanent water plants. They grow slower than soil-grown pothos but can thrive for years this way. If you go this route:
- Change the water weekly to provide fresh oxygen
- Add a drop of liquid fertilizer (like Schultz 10-15-10) once a month — water has no nutrients, so the plant depends entirely on what you add
- Use an opaque or amber vessel to discourage algae (algae thrives in light plus nutrient-rich water)
- Top off with fresh water between full changes
- A piece of activated charcoal in the water helps keep it clean longer
- Expect slower growth and smaller leaves compared to soil-grown pothos — this is normal
Pothos Varieties and Propagation Notes
| Variety | Rooting Speed | Notes |
|---|---|---|
| Golden Pothos | Fast (7-10 days) | The easiest variety to propagate. Very forgiving. |
| Jade Pothos | Fast (7-10 days) | Solid green, vigorous grower, roots quickly. |
| Neon Pothos | Fast (7-10 days) | Bright chartreuse cuttings. Roots just as easily as Golden. |
| Marble Queen | Moderate (10-14 days) | More variegation means less chlorophyll, slightly slower rooting. |
| N'Joy | Moderate (10-14 days) | Compact variety. Roots well but slower than green varieties. |
| Manjula | Moderate (10-14 days) | Heavily variegated. Give extra light during propagation. |
| Cebu Blue | Moderate (10-14 days) | Silvery-blue leaves. Roots well in water. |
Troubleshooting
Cuttings Are Not Rooting After 2+ Weeks
First, verify that each cutting has a node submerged — no node means no roots, ever. If nodes are submerged and you still see nothing after two weeks, check these factors:
- Water temperature: Too cold slows rooting dramatically. Keep water at room temperature (65-75°F).
- Light level: Very low light slows rooting. Move to a brighter spot (but not direct sun).
- Cutting health: If the cutting was from a stressed or unhealthy vine, it may lack the energy to root. Try a cutting from a healthier part of the plant.
- Stagnant water: If you have not been changing the water, bacteria may be inhibiting root growth. Do a fresh water change immediately.
Stems Are Turning Mushy
The water is stagnant, a submerged leaf is rotting, or bacteria have taken hold. Remove all mushy parts immediately — cut back to firm, healthy tissue. Change the water completely. Ensure only stems and nodes are below the waterline with no leaves submerged. Sterilize your jar with hot water before putting the cuttings back.
No Root Growth After 4 Weeks
If you have verified node submersion and addressed the factors above, try these interventions:
- Add a very small amount of rooting hormone to the water (liquid type, just a drop)
- Place the jar on a seedling heat mat — warmth significantly accelerates rooting
- Try a different cutting — some individual cuttings simply fail while others from the same plant succeed
- Ensure the cutting has at least one healthy leaf — leafless cuttings can root but are much slower since they cannot photosynthesize
Water Turns Cloudy or Smelly
Bacterial growth from stagnant water, submerged leaves, or decaying material. Change the water immediately, rinse the stems, remove any decaying parts, and add a piece of activated charcoal. Going forward, change water every 3-5 days religiously.
Roots Turn Brown or Mushy
Healthy water roots are white or very light tan. Brown, slimy roots indicate root rot from bacterial contamination. Trim off all brown roots, change the water, sterilize the jar, and monitor closely. If the cutting has enough healthy tissue above the damaged area, it can often regrow roots.
Frequently Asked Questions
Can I propagate pothos from a single leaf?
A single leaf with no node attached will not root and will eventually die. You need a piece of the main vine with at least one node. A single leaf with its petiole (leaf stem) but no vine section and no node is just a leaf — it cannot generate roots or new growth.
Is it better to propagate pothos in water or soil?
Water is easier and more visual — you can see the roots develop and catch problems early. Soil propagation works too (stick the cutting directly in moist soil) but you cannot monitor root development, and it is easier to accidentally overwater. For beginners, water propagation is the way to go. The success rate is comparable with both methods.
How many cuttings can I take from one pothos plant?
As many as you have vine length. A long pothos vine can be cut into many sections, each with at least one node and one leaf. Taking cuttings actually encourages the mother plant to branch — after you cut a vine, it will typically produce 1-2 new growth points just below the cut. So propagating is also a form of pruning that makes the mother plant fuller.
My pothos cutting rooted in water but died after planting in soil. What went wrong?
This is usually transplant shock. Water roots are structurally different from soil roots — they are thinner and more delicate. When moving to soil, you need to keep the soil consistently moist for the first 2 weeks to give the roots time to adapt. If you let the soil dry out too quickly, the water-adapted roots cannot absorb moisture efficiently and the cutting wilts. Another common cause is planting in soil that is too dense or heavy — use a well-draining mix with extra perlite.
Sources and further reading
- How to Propagate Houseplants by Stem Tip Cuttings — Iowa State University Extension and Outreach
- How to take cuttings from houseplants — Royal Horticultural Society
- Pothos as a Houseplant — Penn State Extension