How to Propagate ZZ Plant: Division, Leaf & Stem Methods
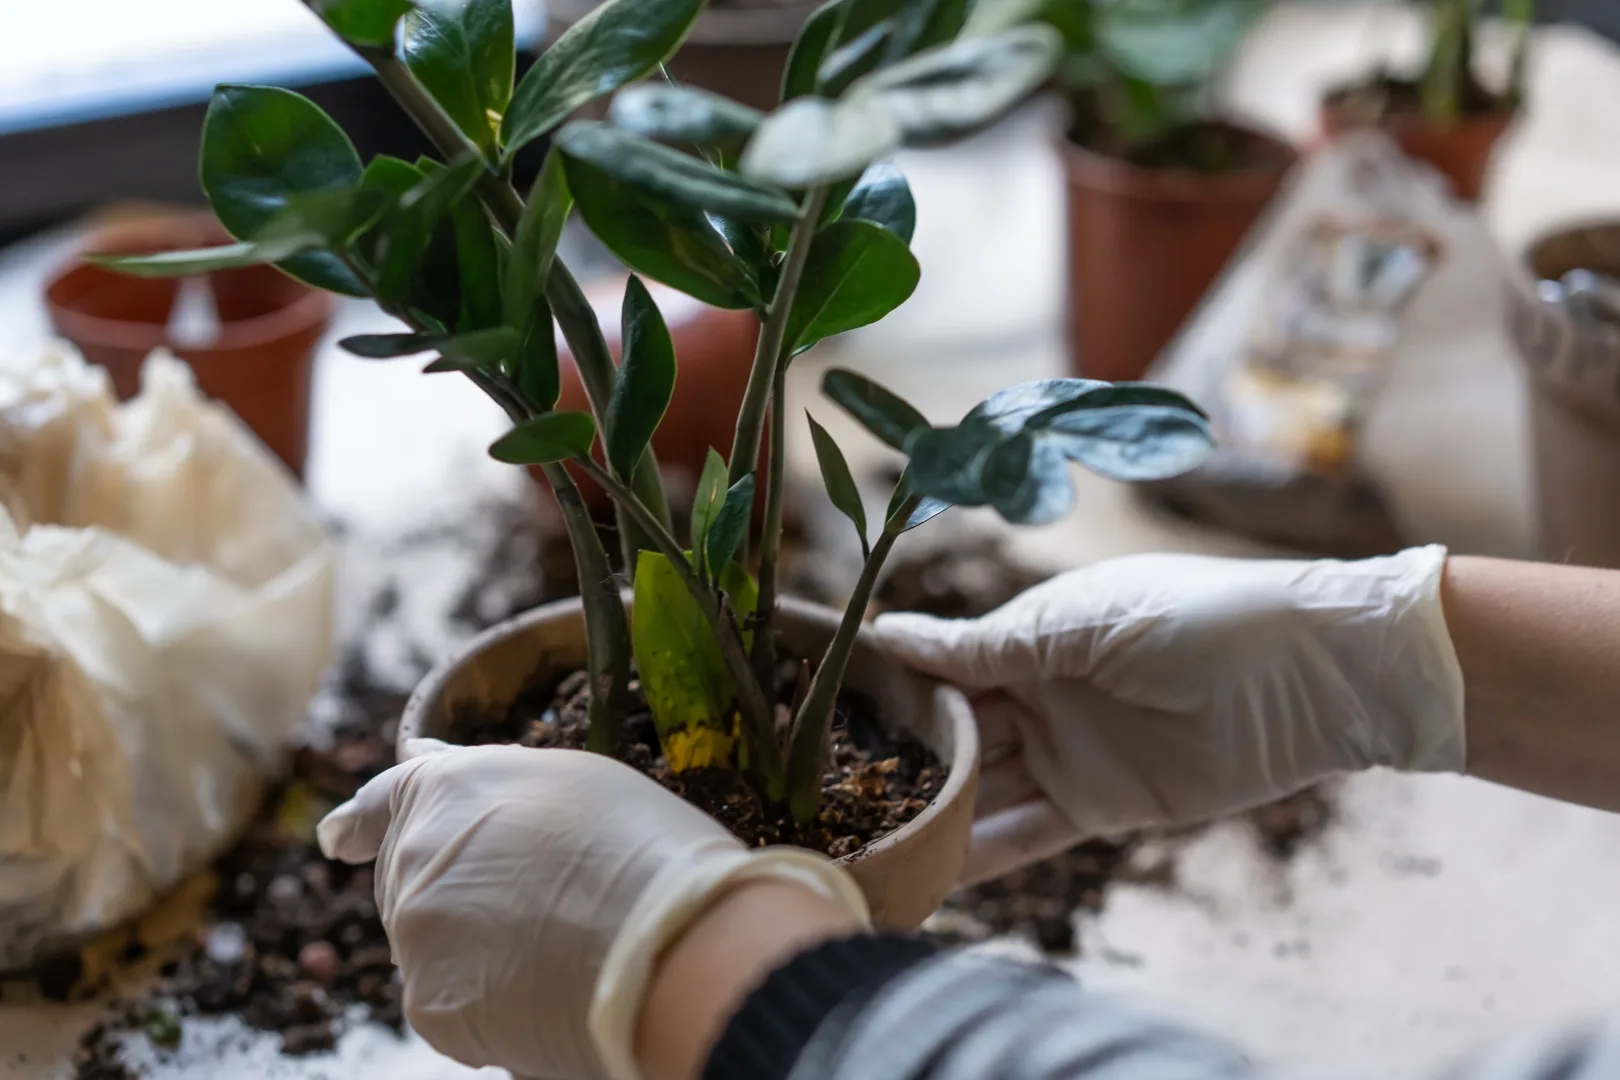
Quick Summary
- ZZ plants are slow to propagate — expect months, not weeks, for new rhizomes to form
- Division is the fastest method and produces the most reliable results
- Stem cuttings in water take 4–6 months to develop a rhizome
- Single leaf cuttings can work but take 6–9 months or longer
- ZZ sap is a mild irritant — wear gloves when cutting or handling roots
The ZZ plant (Zamioculcas zamiifolia) is one of the toughest houseplants in existence — drought-tolerant, shade-tolerant, and virtually impossible to kill through neglect. But "tough" does not mean "fast," especially when it comes to propagation. ZZ plants grow slowly because of their unusual biology: they store water and nutrients in thick underground rhizomes, which are the key to their incredible resilience but also the reason propagation takes significantly longer than most other houseplants.
Understanding the rhizome biology changes your expectations and approach. The goal of ZZ propagation is not just to get roots — it is to develop a new rhizome, which is the plant's food and water storage system. Until a new rhizome forms, a cutting has no real reserve to fall back on, which is why the process takes so long.
ZZ Plant Propagation Methods Overview
| Method | Difficulty | Time to Usable Plant | Best For |
|---|---|---|---|
| Division | Easy | Immediate (4–8 weeks recovery) | Large, established plants |
| Stem cutting in water | Easy | 4–6 months for rhizome | Getting multiple plants from one |
| Leaf cutting | Moderate | 6–9+ months | Maximum plants from minimal cuttings |
Method 1: Division (Fastest)
Division works by separating existing rhizomes from a mature plant — each section already has roots, stems, and a rhizome, so the new plant is essentially established from day one.
Step-by-Step
- Remove the ZZ plant from its pot. This can require some force for large, root-bound plants — squeeze plastic pots, run a knife around the inside edge of ceramic or terracotta.
- Shake off as much soil as possible to expose the rhizomes. ZZ rhizomes look like small, fat potatoes connected by roots and stems. A healthy plant will have several distinct rhizome clusters.
- Wear gloves. ZZ sap contains calcium oxalate crystals, which cause skin irritation similar to a mild rash in some people. It is not severe, but better to protect your hands, especially around cuts or sensitive skin.
- Use clean, sharp scissors, pruning shears, or a knife to separate the rhizome clusters. Each division should have at least one healthy rhizome, several roots, and at least one stem with leaves. Make clean cuts rather than tearing.
- Dust the cut surfaces with cinnamon powder or activated charcoal to help prevent fungal infection at the cut points.
- Let the divisions air dry for 1–2 hours before potting to allow cut surfaces to seal slightly.
- Pot each division into a well-draining mix (standard potting soil with added perlite or succulent mix) in an appropriately sized pot. Water lightly — the rhizomes have significant water reserves, so you do not need to water heavily immediately.
Recovery time: Expect the divided plants to look a little stressed for 2–4 weeks — some yellow leaves or temporary slowdown is normal. By 4–8 weeks, healthy new growth should be emerging.
Pro Tip
Do not water your newly divided ZZ plants for the first 3–5 days after potting. The rhizomes have ample water reserves, and the cut roots need time to heal in dry conditions. Watering immediately after cutting can introduce bacteria at the wound sites. Let things settle first.
Method 2: Stem Cuttings in Water
A stem cutting is a single stalk (with all its leaves) cut from the base of the plant. In water, the cutting will eventually develop roots and, critically, a small new rhizome at the base — this is the process that takes so long.
Step-by-Step
- Select a healthy stem at the base of the plant and cut it cleanly at soil level, as low as possible. You want the entire stem, not just the top portion.
- Let the cut end callus in open air for a few hours — especially important for ZZ cuttings, which have fleshy stems prone to rot.
- Place the stem in a glass or vase of water, submerging the bottom 2–3 inches. Change water every 7–10 days.
- Place in bright, indirect light at room temperature. Avoid direct sun, which can cause the stem to degrade faster than roots develop.
- Watch for root development over the next 2–4 months. Roots appear first, followed by a small swelling at the base — that swelling is the beginning of a new rhizome.
- Pot the cutting once the rhizome is clearly visible and roots are at least 1–2 inches long. Use a well-draining mix. Be gentle with the new roots — they are fragile compared to established ZZ roots.
Method 3: Leaf Cuttings
Individual leaves can produce new ZZ plants, but this is the slowest and least reliable method. Use it when you want to maximise the number of plants from a single cutting or when you only have a few leaves available.
Step-by-Step
- Remove a healthy leaf with its short petiole (the tiny stem connecting the leaf to the main stem) intact. The petiole is important — without it, success rates drop sharply.
- Let the leaf cutting dry for 1–2 hours to allow the cut end to callus.
- Place the leaf cutting in water (with the petiole submerged) or insert it 1–2 cm deep into a propagation mix of pure perlite or a 50/50 perlite/potting soil blend.
- Keep barely moist in indirect light and be patient. Leaf cuttings in water: check for a small rhizome forming at the base after 4–6 months. In soil: do not disturb for at least 3 months.
- Once a small rhizome is visible and the leaf has produced 1–2 new tiny leaves from the rhizome, the new plant is established enough to pot into a larger container.
Pro Tip
Place multiple leaf cuttings in a single wide, shallow container of water — using a propagation station or even a baking dish. Seeing 10–15 leaves slowly developing rhizomes side by side is both reassuring and satisfying. Label them with the date they were placed in water so you can track progress without second-guessing yourself.
Why ZZ Propagation Takes So Long: Rhizome Biology
Most houseplants propagate quickly because getting roots growing on a cutting is relatively fast — the plant simply needs to differentiate some cells into root cells, which happens within days to weeks. ZZ plants are different. Before a cutting can support independent growth, it needs to develop a rhizome — a modified underground stem that functions as a water and starch storage organ.
Growing a rhizome from scratch requires the cutting to accumulate enough carbohydrates (through photosynthesis) to build a structural storage organ. This process cannot be rushed significantly. The cutting needs light to photosynthesize, time to accumulate resources, and then time to actually construct the rhizome. No amount of rooting hormone or optimal conditions can compress this timeline below 3–4 months for stem cuttings or 6 months for leaf cuttings.
This is also why the leaves on a ZZ stem cutting remain alive and green for months without any visible root or rhizome progress — the leaves are photosynthesizing and slowly sending sugars down to the base, building the rhizome one molecule at a time. It is working, just invisibly.
Timeline Expectations
| Method | First Roots | Rhizome Visible | First New Leaf | Fully Independent |
|---|---|---|---|---|
| Division | Already present | Already present | 4–8 weeks | 4–8 weeks |
| Stem cutting (water) | 4–8 weeks | 3–5 months | 5–7 months | 6–9 months |
| Leaf cutting (water) | 4–10 weeks | 4–6 months | 6–9 months | 9–12 months |
Caring for New ZZ Plants
Once potted, young ZZ plants need conditions similar to mature plants — but with more careful watering:
- Water less than you think. The young rhizomes store water but are also more susceptible to rot than mature ones. Let the top half of the soil dry out between waterings.
- Bright indirect light speeds development. A young ZZ plant will grow faster and develop faster in more light than a mature one, which is famously shade-tolerant.
- No fertilizer for 3 months. The young root system is sensitive. Fresh potting mix provides adequate nutrition for the first few months.
- Small pots are better. Start in 3–4 inch pots. Too much soil volume stays wet too long around small root systems.
Frequently Asked Questions
My ZZ stem cutting has been in water for 5 months with no rhizome. Is it dead?
Check the base carefully — you may see a very small, hard swelling that has not expanded much yet. As long as the stem and leaves are still green and firm, the cutting is still alive and working. Give it more time and make sure it is in bright indirect light.
Can I use rooting hormone on ZZ cuttings?
Rooting hormone helps with root development but does not speed up rhizome formation — which is the slower bottleneck. Use it for stem cuttings in soil, but do not expect dramatically faster results.
Is ZZ plant sap toxic to humans?
It is a mild irritant, not seriously toxic. The calcium oxalate crystals cause skin irritation and mucous membrane irritation if ingested. Wear gloves when handling cut stems, and keep away from small children and pets who might chew on leaves.
How do I know if my ZZ cutting has failed?
Failure signs: stem turns yellow and mushy (rot), leaves shrivel and drop rapidly, or the base turns black. Green and firm = still working, even if slowly. Only discard a cutting if it shows clear signs of rot or complete desiccation.
Written by
Plant Care Club
The Plant Care Club team combines years of hands-on plant parenting with science-based research to create guides you can actually trust. We test, we grow, we learn — so you can too.
94 articles published
Was this helpful?
Thanks for your feedback!
More Care Guides
 Plant Care Tips
How to Propagate Monstera: Stem Cuttings and Air Layering
Learn how to propagate Monstera deliciosa with stem cuttings and air layering. Includes node identification and a complete rooting timeline.
 Plant Care Tips
Monstera Deliciosa Care: The Complete Guide
The definitive Monstera deliciosa care guide. Covers light, watering, chunky soil mix, humidity, moss poles, fenestration, common problems, and all popular varieties.
 Plant Care Tips
Snake Plant Care: The Only Guide You'll Ever Need
The complete snake plant care guide covering light, watering, soil, propagation, and every common problem — from mushy roots to brown tips.